Last updated November 20, 2026
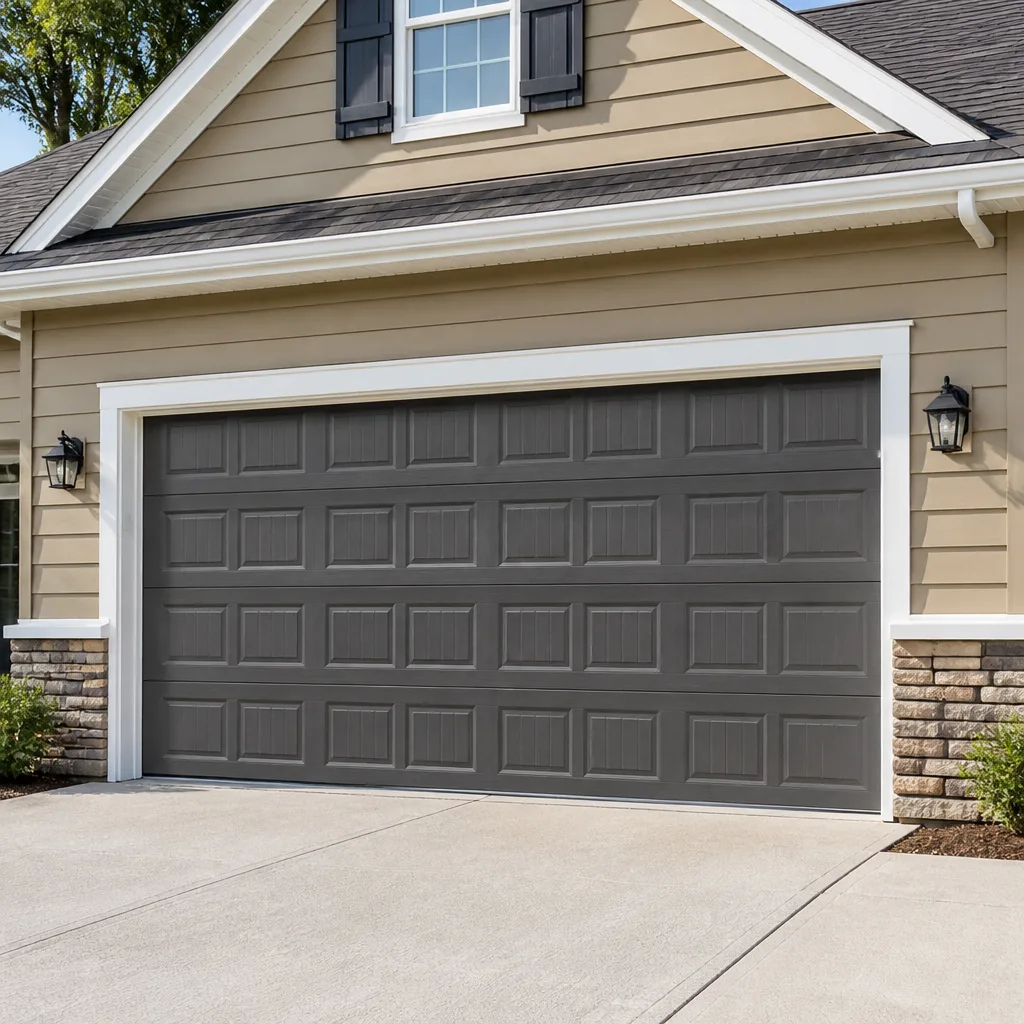 Raised-panel steel
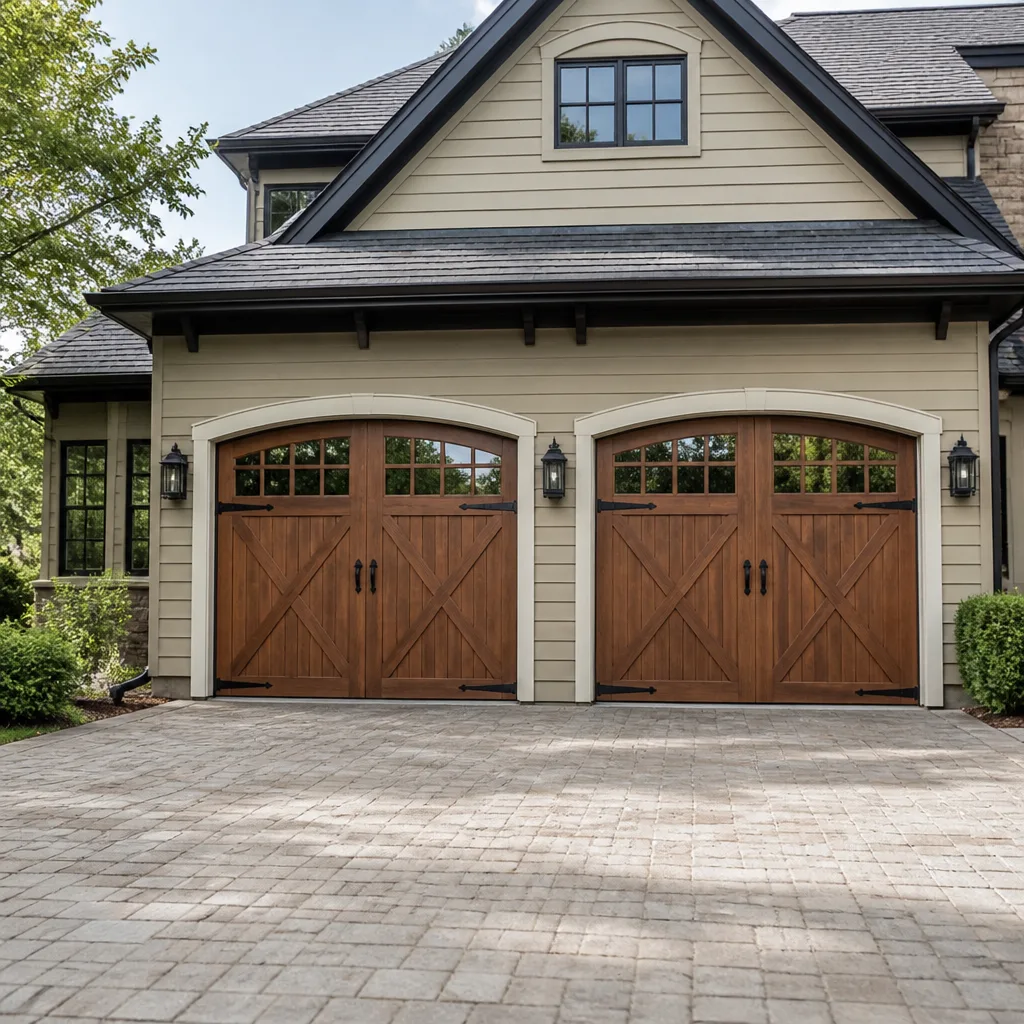 Carriage house
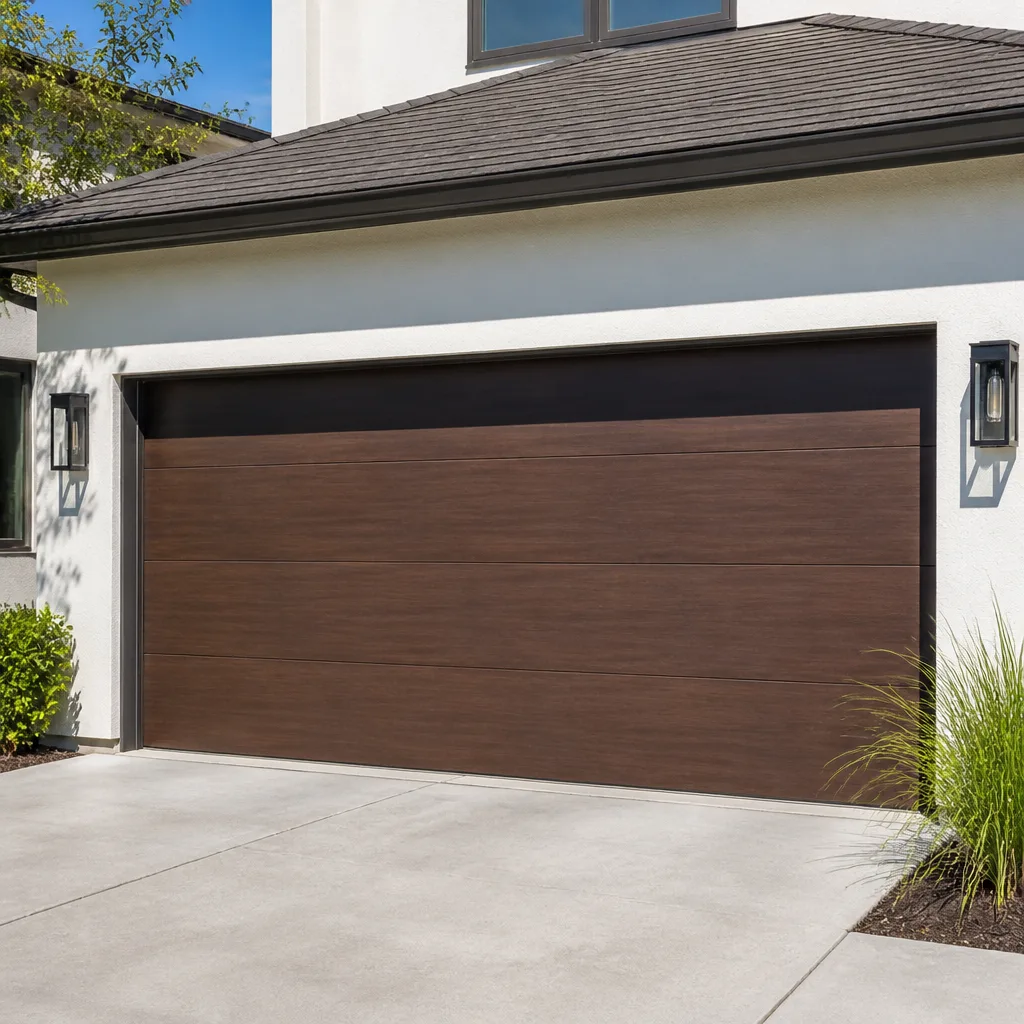 Modern flush
 Full-view glass
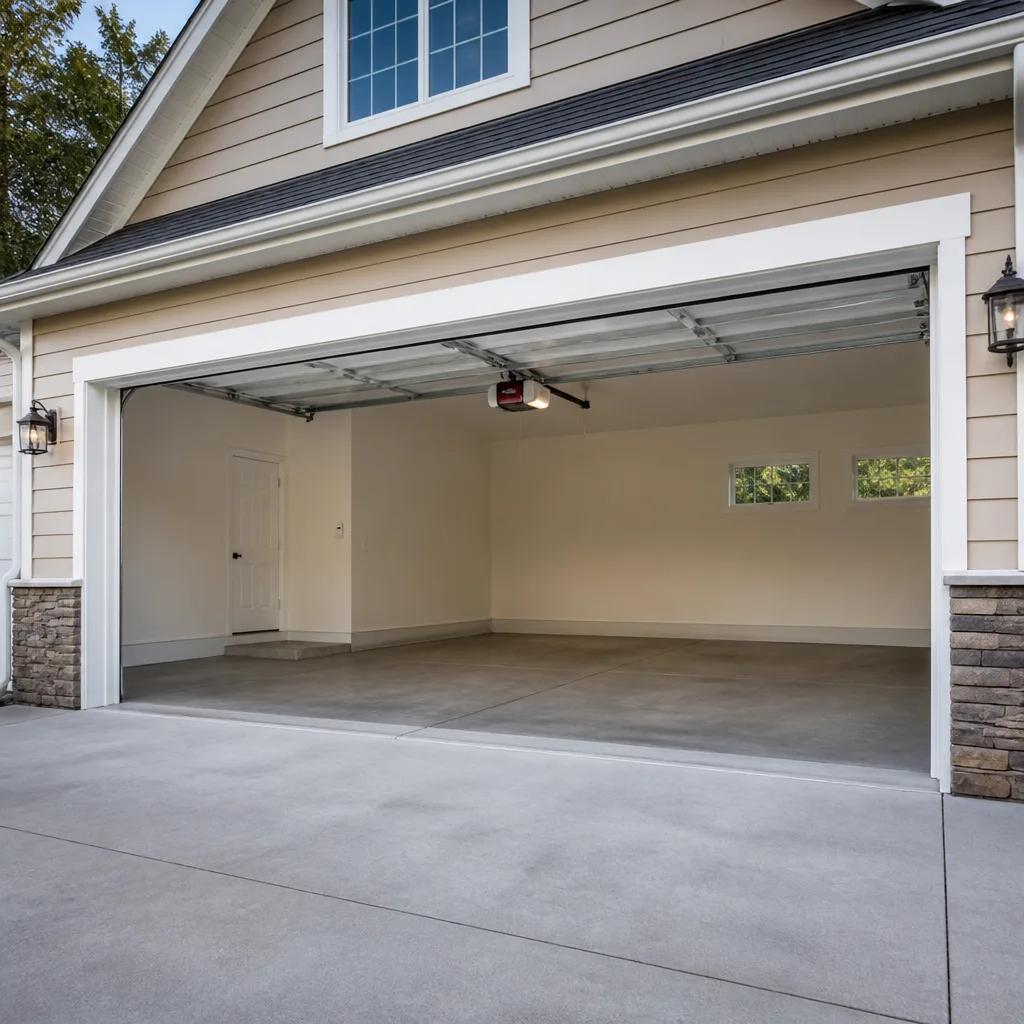 LiftMaster openers
 Chamberlain openers
Full 25-point door and opener safety check with every visit - springs, cables, rollers, tracks, and your LiftMaster or Chamberlain opener included
You get a price before we start. It does not change when the pro arrives.
Get your free estimateDIY vs Professional Garage Door: The Eagle Creek Homeowner’s Decision Guide
Replacing a bottom seal takes about 45 minutes and costs around $30 in parts. Adjusting a torsion spring is the job that sends more than 20,000 people to emergency rooms every year. The trouble is that both jobs look equally approachable to someone who has never done either one. That gap between “looks simple” and “is safe” is where most garage door injuries and wasted money happen. This guide draws a clear line: which tasks in Eagle Creek you can confidently handle yourself, which ones need caution, and which ones belong in the hands of a professional who does them every day. By the end you’ll know where your time and money are actually well spent.
Quick Answer
You can safely DIY a garage door’s cosmetic and light-mechanical tasks: replacing weather seals, lubricating hinges and rollers, tightening loose brackets, and cleaning photo-eye sensors. You should call a professional for anything involving torsion springs, cables, bottom brackets, or opener drive systems. Those parts store lethal energy or carry electrical risk, and a mistake in either area can cause serious injury. For everything in between, the deciding test is simple: if a task requires releasing tension or working under a loaded part, hire it out.
Styles & brands we work with
- Raised-panel steel
- Carriage house
- Modern flush
- Full-view glass
- LiftMaster openers
- Chamberlain openers
Table of Contents
- The Real Question Isn’t Skill – It’s Consequence
- DIY-Safe Tasks: What You Can Handle Confidently
- DIY With Caution: Tasks That Reward Patience
- Professional-Only Tasks and Why They’re Different
- The Physics of Torsion Springs: Why This Risk Is Categorically Different
- Cost-Benefit Math: When DIY Part Savings Are Real
- What Tools You Actually Need (And the Gap That Sinks Most Opener Installs)
- How to Be a Smarter Client for the Professional Jobs
The Real Question Isn’t Skill – It’s Consequence
Most DIY-versus-professional debates focus on whether a homeowner is capable. That’s the wrong question. Plenty of Eagle Creek homeowners are perfectly capable of turning a wrench. The question that actually matters is what happens when a task goes wrong. A poorly installed weather seal lets in a little rain and makes noise; you notice it right away and fix it. A spring released while still under tension can break a hand, a wrist, or worse, and it happens in a fraction of a second with no warning.
The smart way to sort garage door work is to look at each task through three filters:
- What’s the worst outcome if it goes wrong? A crooked seal is a do-over. A released torsion spring is an emergency room visit.
- Does the task involve stored energy or live electricity? Springs, cables, and opener wiring carry both. Seals and lubrication don’t.
- Does the task have a high callback rate when done by an amateur? Opener installs and spring replacements are notorious for this – a fix that seems fine for a week and then fails.
Run any garage door task through those three filters and the answer usually sorts itself out. What follows is the specific breakdown, task by task.
DIY-Safe Tasks: What You Can Handle Confidently
These are the jobs we genuinely encourage Eagle Creek homeowners to do themselves. They’re low-risk, low-cost, and they keep your door running smoothly between professional visits.
- Replacing the bottom weather seal. A worn seal is a common problem in Eagle Creek, where the freeze-thaw cycle of an Indiana winter cracks the rubber and lets cold air and moisture creep in under the door.
- Lubricating hinges, rollers, tracks, and the opener’s chain or screw drive. A little white lithium grease on the moving metal parts quiets the door and extends component life.
- Cleaning and realigning the photo-eye sensors. The two small sensors near the bottom of the tracks get dusty or knocked out of alignment. Wiping them down and pointing them back at each other fixes most “door won’t close” complaints.
- Tightening loose bracket bolts and track bolts. A socket wrench and a few minutes will quiet a rattling door.
- Replacing the opener’s battery or remote control. Cheap, simple, and satisfying.
- Adjusting the opener’s force and travel limits per the manufacturer’s manual. If your Chamberlain or Genie opener stops just short of the floor, the manual walks you through the set-screw adjustment.
These are the tasks where the DIY savings are real and the risk is negligible. Spend an hour on a Saturday morning and you’ve handled a chunk of routine garage door upkeep on your own.
DIY With Caution: Tasks That Reward Patience
Some jobs are within reach of a careful homeowner but have enough margin for error that you should be honest with yourself about your comfort level before starting. If anything about the job feels beyond you, this is the tier where calling a professional makes sense before you get in over your head.
- Replacing individual rollers. The rollers themselves are inexpensive, and swapping them out is manageable if you work with the door fully closed and the springs untouched. The trap is stripping a hinge bolt or dropping a roller into the track. Work methodically and don’t force anything.
- Replacing a single hinge. Same principle – the hinge swap is straightforward, but the door has to stay supported and the torsion system has to stay untouched.
- Installing a new opener yourself. This is the classic YouTube trap. The videos make it look like a two-hour project. The reality for most Eagle Creek homeowners is that it takes a full day, requires a ladder, a second pair of hands, and often involves a trip back to the store for the correct mounting hardware. If your ceiling height, door weight, or existing wiring is non-standard, the job compounds quickly.
- Adjusting the door’s open and close travel. A door that doesn’t close flush is often a simple adjustment, but it’s also the setting that determines whether the door reverses properly on contact. Get it wrong and the safety reverse stops working.
The pattern here is a moving target: some jobs in this tier go smoothly and some don’t, and the difference usually comes down to how your particular door was built. When in doubt, ask yourself whether you’d rather spend the afternoon on it or have it handled by someone who has already seen a hundred versions of the same setup.
Professional-Only Tasks and Why They’re Different
These tasks are not a matter of skill or comfort level. They involve parts that carry lethal energy or electrical risk, and the margin for error is close to zero. Do not attempt any of the following yourself.
- Torsion spring replacement or adjustment. A torsion spring holds the full weight of the door in a coiled, compressed state. Loosening or adjusting one requires winding bars, timing, and a specific sequence that keeps the door balanced on both sides. Getting it wrong can release hundreds of pounds of force instantly.
- Extension spring replacement. The older style of spring runs along the tracks above the door. It carries the same stored energy and the same risk. Extension springs should always be replaced in pairs, and the safety cables must be reinstalled correctly.
- Cable replacement. Cables are under tension too, and they’re attached to the springs. A cable that snaps free or is mishandled can whip with serious force.
- Bottom bracket work. The bracket at the bottom of the door holds the cable and sits under spring tension. Removing or replacing it without releasing tension first is dangerous.
- Track straightening after impact damage. A bent track changes how the rollers ride and how the door balances. Repeatedly forcing a bent door can damage the panels and the opener.
- Opener electrical work. Wiring a new opener into household current, or tracing a fault in the opener’s electrical system, involves live electricity. Leave it to someone trained on it.
If your job falls into this list, getting it done right the first time is the cheapest path. We handle garage door spring repair as a dedicated service, which means the technician on your job has specific experience with the actual danger involved.
The Physics of Torsion Springs: Why This Risk Is Categorically Different
Here’s the mechanical reality that separates spring work from every other garage door task. A torsion spring is a coiled steel bar under enormous rotational load. To lift a door that weighs somewhere between 150 and 300 pounds – which is typical for a residential garage door – the spring has to be wound to store roughly the equivalent of that door’s weight in rotational energy.
When you adjust or release a torsion spring, you’re releasing that stored energy. Two things make it uniquely dangerous compared to other home repair risks:
- The energy releases instantly. A spring that slips off its winding bar doesn’t give a warning first. It doesn’t slow down. It just moves, and the speed is high enough that the reaction time of a human hand is not a factor.
- The tolerances are tight. Torsion springs are timed so the door is balanced on both sides. Wind it too far and the door slams upward; wind it too little and the spring isn’t carrying its share of the load. Either imbalance stresses cables and brackets and starts the process of a failure later.
This is not a scare tactic – it’s why you’ll see a specific warning in our Garage Door Repair Eagle Creek work and in the installation manual of every door and spring we handle. Professional spring work isn’t about a stronger set of hands. It’s about training, winding bars, and a discipline of technique that keeps the energy contained. If your goal is a repair done safely, that’s the line to respect.
Cost-Benefit Math: When DIY Part Savings Are Real
Homeowners often compare the cost of a part against the cost of a professional repair and conclude that DIY is the obvious win. Sometimes it is. Sometimes the math doesn’t work out once you account for callback risk. Here’s how to think about it honestly.
| Task | DIY Part Cost | Professional Repair (Estimated) | Verdict |
|---|---|---|---|
| Bottom seal replacement | $20-$40 | $90-$150 | Reasonable DIY if you have a free afternoon |
| Roller replacement (all) | $25-$50 | $120-$200 | DIY is a real savings if you’re careful |
| Opener install | $150-$350+ for the unit | $350-$700 including labor | Often worth hiring; wiring and mounting risks are high |
| Torsion spring replacement | $30-$80 for a spring | $180-$340 for one spring | Do not DIY – safety risk outweighs any savings |
Two things to notice. First, the part cost for a torsion spring is deceptively low. Spending $50 on a spring to save $130 in labor is a terrible trade when the risk is a severe hand injury. Second, the tasks where DIY saves the most are also the tasks with the highest failure rate for a first-timer. An opener install that goes wrong often needs a callback visit that erases whatever you saved. For a full picture of what standard services run in Eagle Creek, our garage door repair page lays out typical costs. The written estimate you get before work starts is always the final price – the price is quoted and agreed before any technician touches the door.
What Tools You Actually Need (And the Gap That Sinks Most Opener Installs)
For the DIY-safe tasks in this guide, here’s what a homeowner should have on hand:
- A socket wrench set (1/2-inch and 7/16-inch are the most-used sizes on garage doors)
- A Phillips and flathead screwdriver
- A pair of locking pliers
- White lithium grease or a garage-door-specific lubricant
- A stepladder
- A flashlight or headlamp for working inside the tracks
That toolkit handles every DIY-safe task and most of the DIY-with-caution tasks. It does not handle an opener install. Here’s the tool gap that most YouTube videos skip past:
- A second ladder at the correct height. An opener install needs you to work comfortably overhead for hours, and most homeowners have one ladder. Two makes the job safer.
- A drill with the correct bit set. Mounting a new opener bracket to the ceiling requires drilling into joists with the right fasteners. Using the wrong anchor in drywall or particleboard fails in a season.
- A tension-test tool or spring balance. Modern openers need the door’s balance checked before setting force limits.
- A voltmeter. If the opener needs new wiring run from the ceiling to the wall switch, this is not optional.
- A second pair of hands. Openers are awkward to lift into position. This is not a solo job even for an experienced installer.
That’s the gap. Brand-specific detail closes it. A Chamberlain or Genie unit ships with a specific mounting bracket and a specific force-calibration sequence, and getting either wrong leads to premature opener failure. We work on your brand, and garage door opener repair is a service we handle as a dedicated specialty, not something we defer or outsource.
How to Be a Smarter Client for the Professional Jobs
When you’ve decided to hire a professional for a task, a little preparation makes the visit smoother and helps you avoid paying for work you don’t need. Here’s what to know and check before the technician arrives.
- Know your door and opener brands. Every major manufacturer – LiftMaster, Chamberlain, Genie, Clopay, Amarr, Wayne Dalton, Craftsman, Raynor – uses different parts and different procedures. If you can read the brand name off the opener housing or the door’s edge label, you’ve saved the technician ten minutes and a guess.
- Note what the door is doing (or not doing). Write down the exact symptom: does it reverse partway down? Does it stop at the same height every time? Does the opener click but not move? Specific symptoms point at specific causes.
- Listen for the specific noise. A bang from the ceiling usually means a spring has snapped. A grinding noise from the tracks means the rollers are worn or the track is bent. A hum with no motion usually means the opener’s motor capacitor or gear is failing.
- Have the make and model of the opener ready. A technician carrying the right part the first time has a much higher chance of resolving the problem in one visit. Our parts supply capability means you’re not told to “wait on order” – the right part is sourced and brought to you whenever possible.
- Decide which door in the house is affected. Multi-bay garages can have mixed brands and different door weights. Knowing which door is causing the problem avoids confusion on arrival.
- Ask for the estimate in writing before work starts. That’s the price. A proper written estimate protects you from a surprise invoice, and it lets you compare bids fairly.
If you’re at the point where a full replacement rather than a repair makes more sense, our guide on garage door installation walks through what new-door planning involves. That work is measured, ordered, and scheduled, so it’s not a same-day job – but it’s the right call when the door has structural damage or when repeated repairs add up.
Common Mistakes to Avoid
- Underestimating torsion spring danger. Homeowners see videos of spring replacement and assume it’s a matter of technique. It is a matter of stored energy, and a mistake can release that energy instantly. This is not a task to learn on the fly.
- Buying an opener based on price alone. The cheapest opener on the shelf often uses a lower-torque motor that struggles with heavier Eagle Creek doors. Match the opener to the door’s actual weight and size.
- Installing a new opener without checking the door’s balance first. An unbalanced door will burn through an opener’s gear in a few months. The balance check needs to happen before the new opener goes up, not after it fails.
- Ignoring a bent track after a bump. A minor impact that bends the track changes how the door rides and can lead to a cable failure. Straightening the track is a professional job, but noticing the bend is yours.
- Lubricating springs with grease. Torsion springs are often wound dry on purpose. Grease on a spring attracts grit and can affect its operation. Follow the manufacturer’s guidance, not the first video you find.
- Working on the door while the opener is powered. Even for a simple hinge swap, unplug the opener and pull the release to take tension off the door’s automatic operation. It’s a five-second habit that prevents a nasty surprise.
- Assuming a slow-closing door is fine. A door that reverses slowly or hits the floor hard is often an opener calibration issue, but it can also indicate spring wear. Have it checked before the springs fail completely.
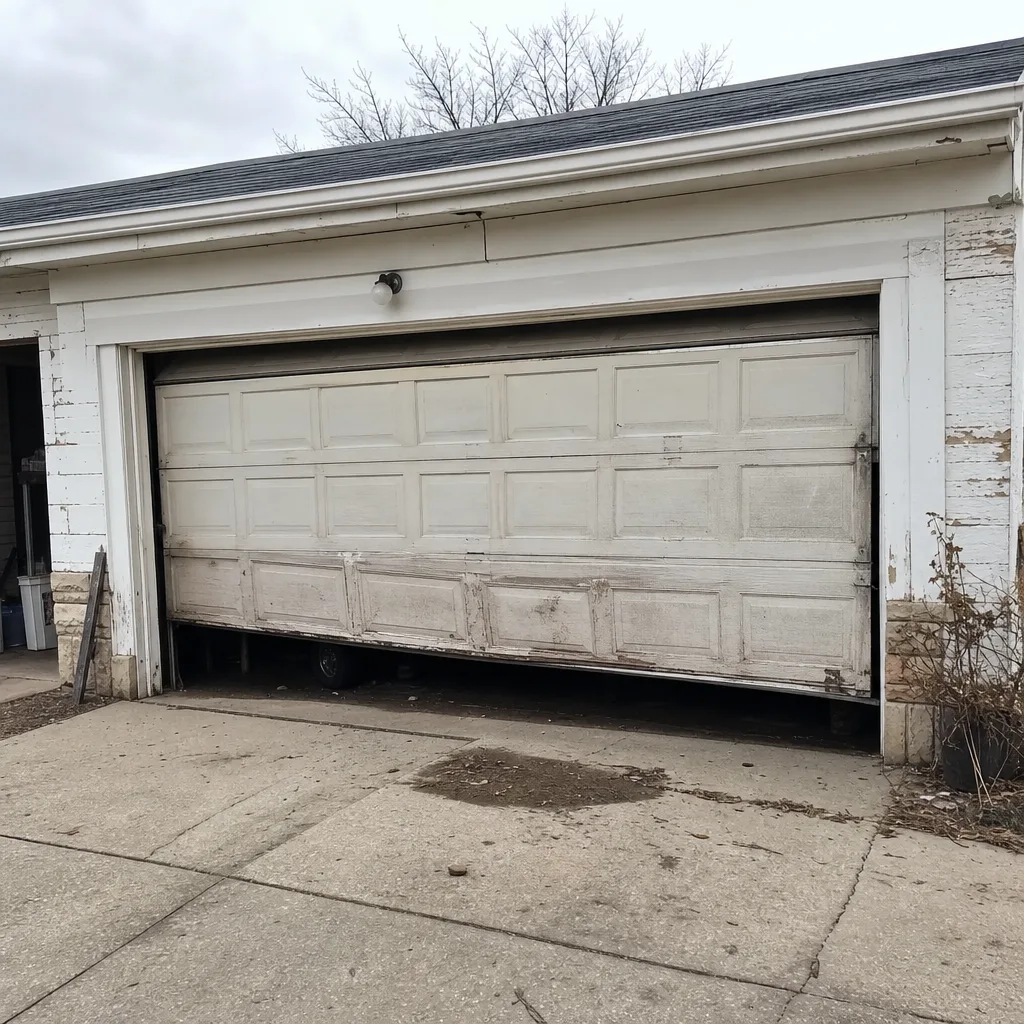
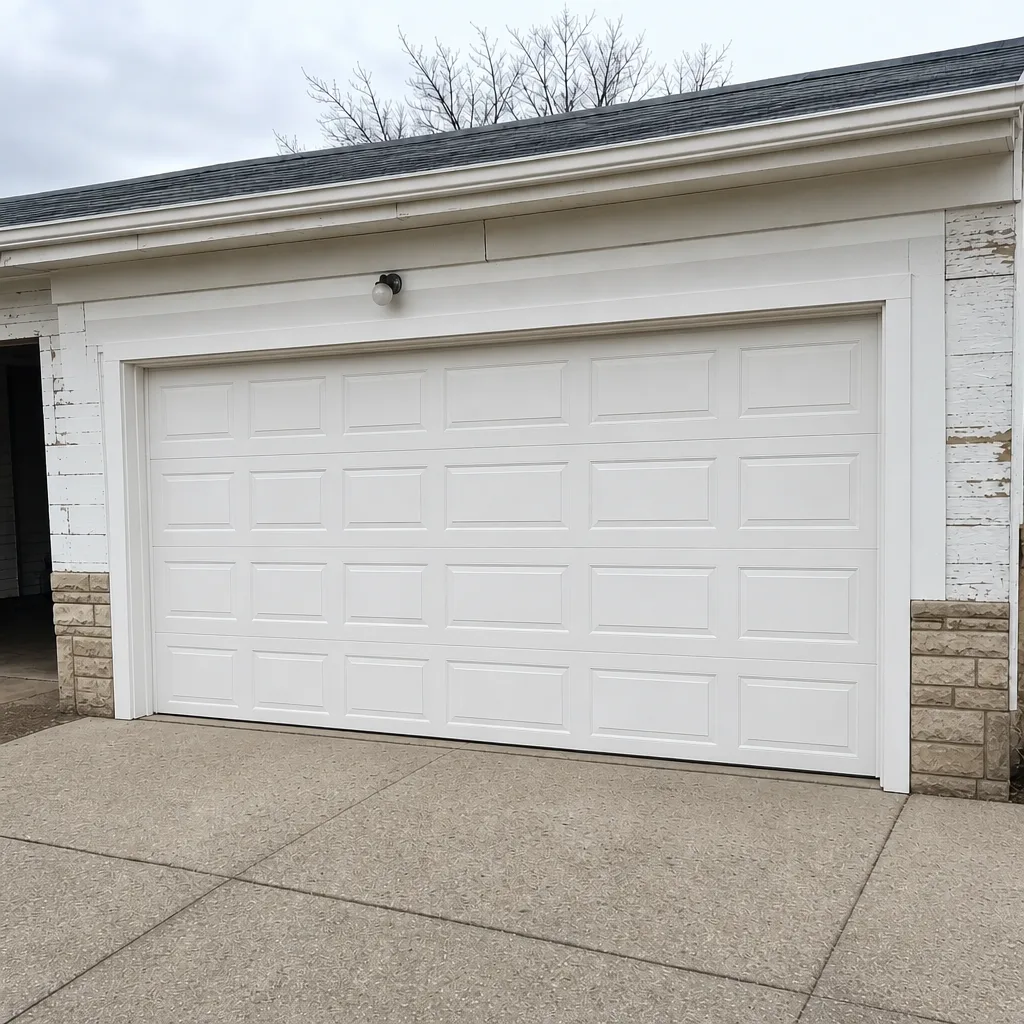
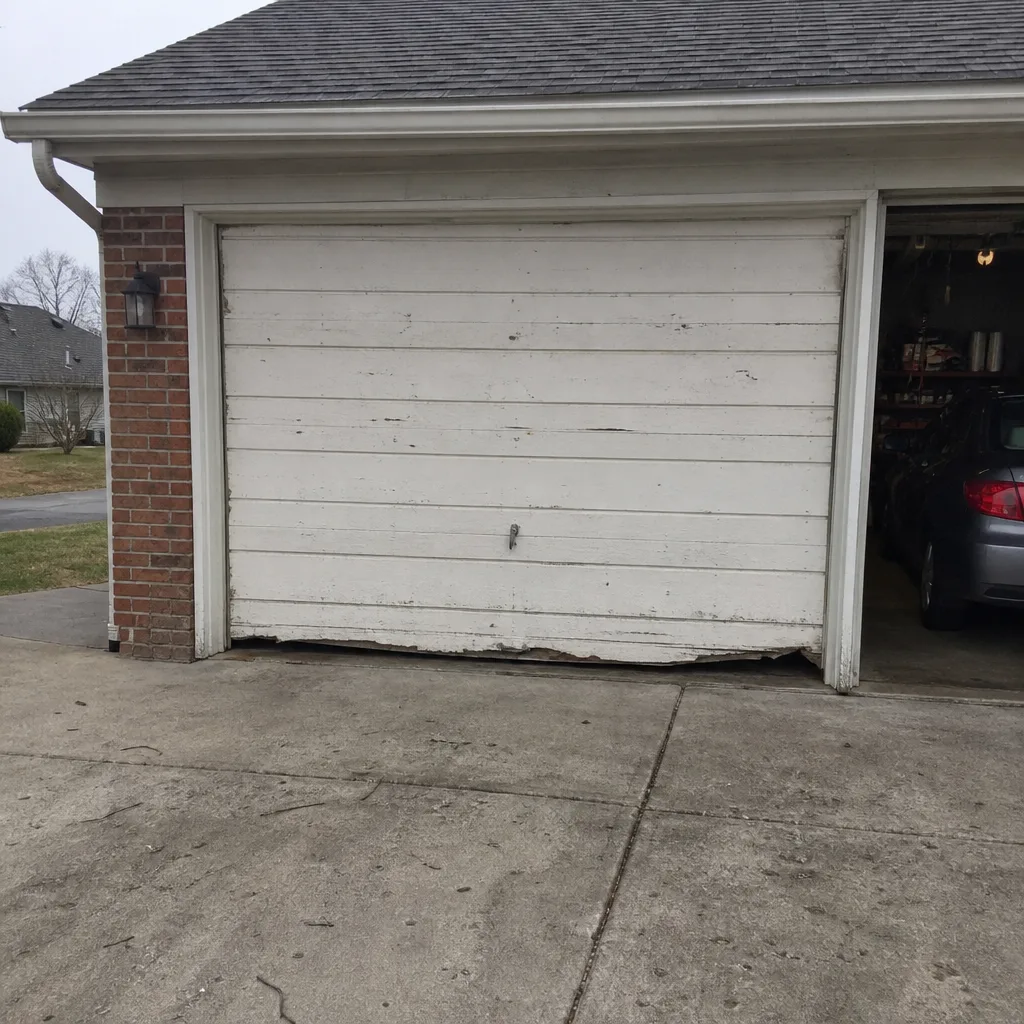
See the difference
 Before
 After
 Before
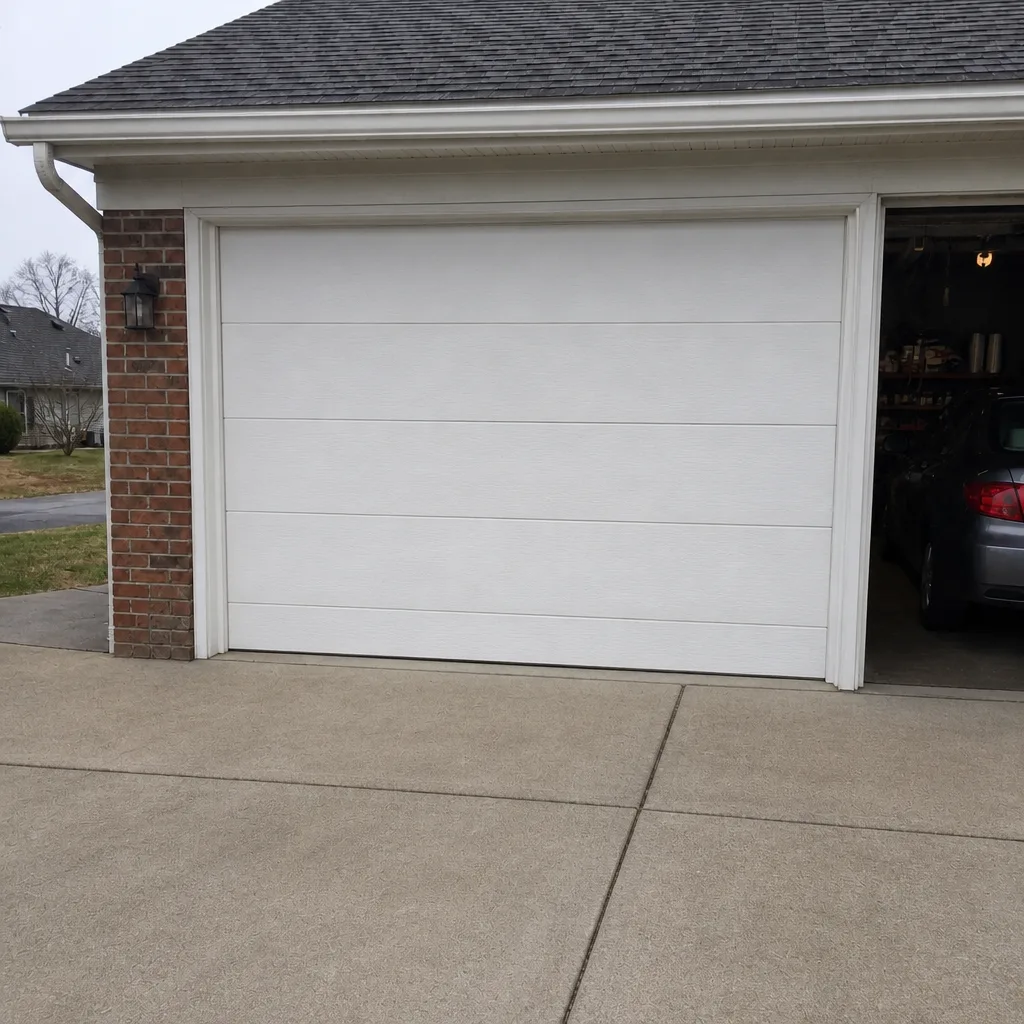 After
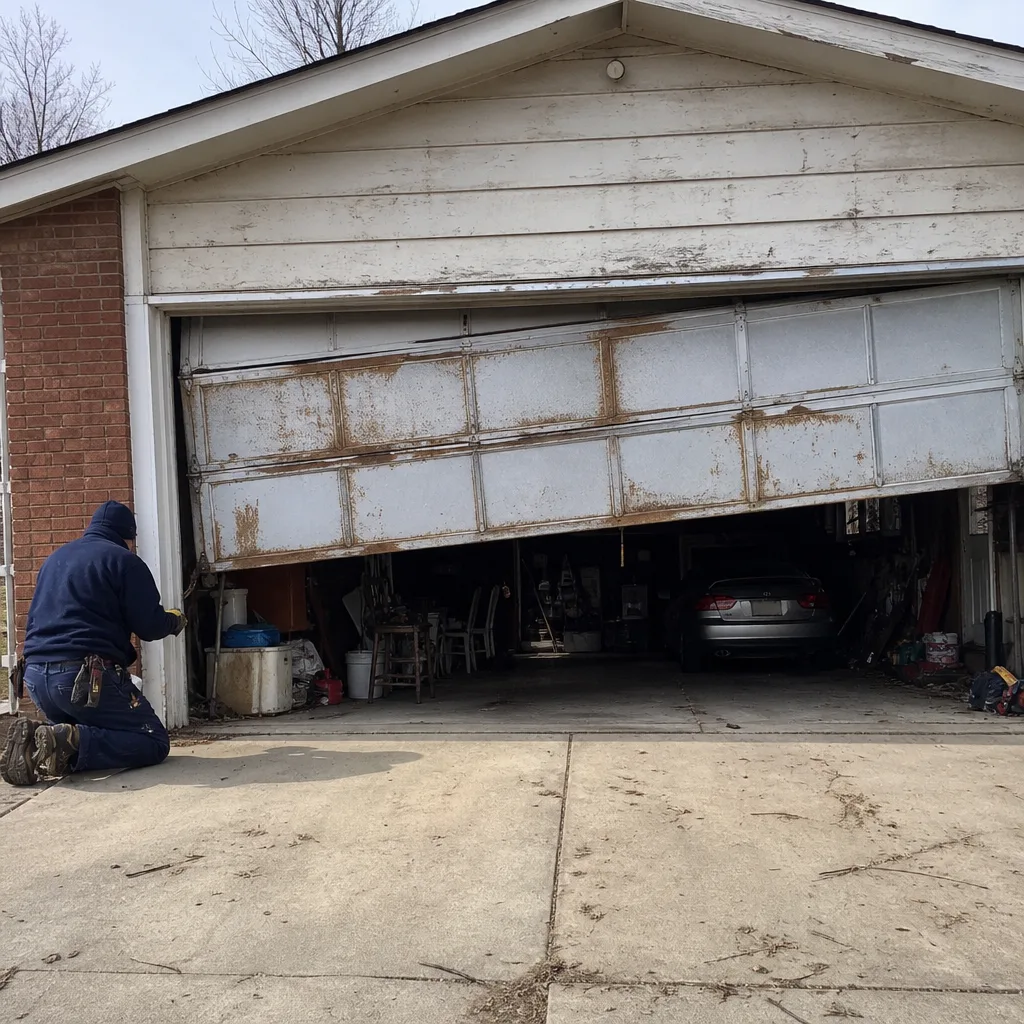 Before
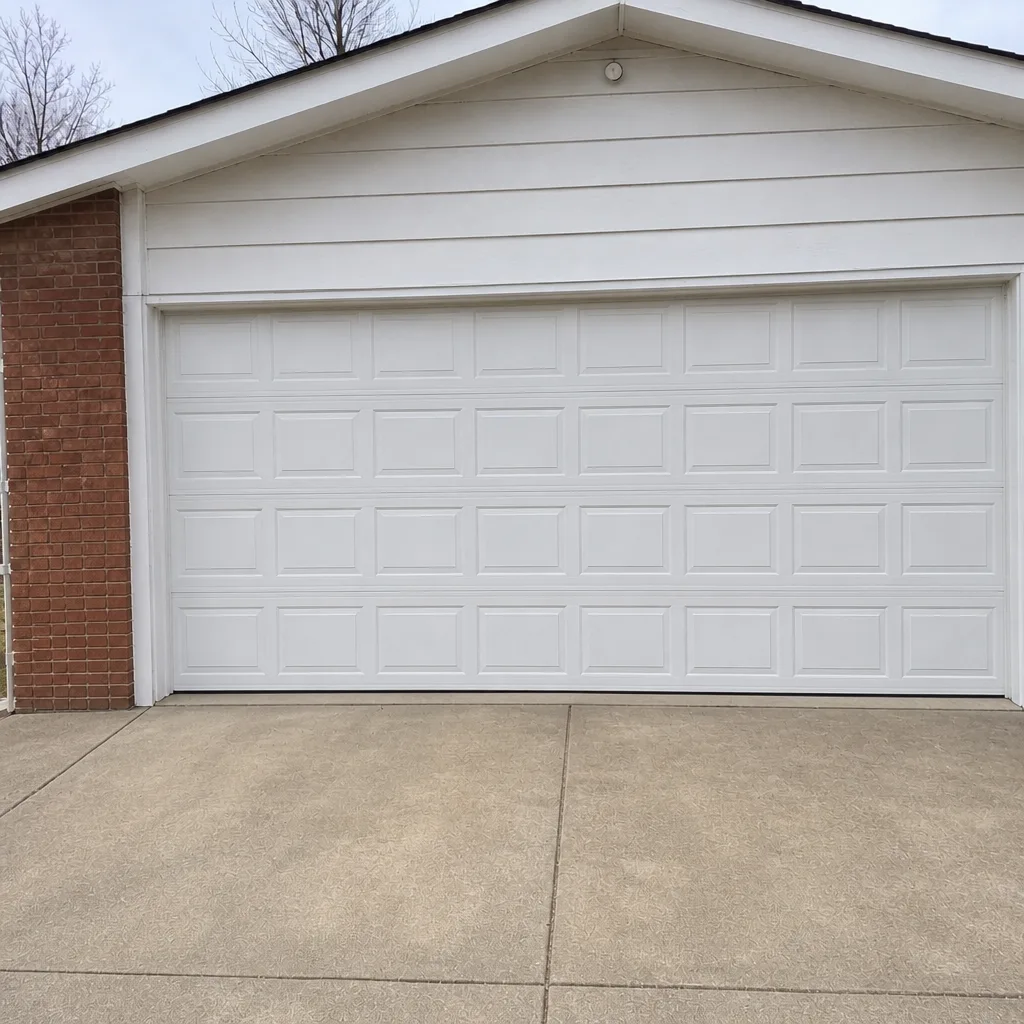 After
When to Call a Professional
Call a professional the moment any of these come up: a snapped or visibly stretched spring, a door that hangs at an angle or won’t lift, a frayed or sagging cable, a bang from the ceiling you can’t explain, an opener that hums but doesn’t move, a door that reverses before touching the floor, or any track damage after an impact. Also call for a full opener replacement if you’re not comfortable working with household wiring or ceiling anchoring. Garage Door Repair Eagle Creek offers free estimates in Eagle Creek – call (844) 935-1938. Our technicians have up to 15 years of experience and work on your brand, from the spring to the opener to the door itself, so you can get one call, one visit, and the right fix. The price is quoted and agreed before any work starts.
Frequently Asked Questions
No – torsion spring replacement is not a safe DIY job for a homeowner. The spring stores enough energy to cause serious injury, and the correct winding sequence requires tools and training most homeowners don’t have. Call (844) 935-1938 for a free estimate on a professional spring replacement in Eagle Creek.
Replacing the bottom weather seal, lubricating hinges and rollers, cleaning the photo-eye sensors, tightening loose bracket bolts, and replacing remote batteries are all safe DIY tasks. These jobs save real money without the risk of injury. Anything involving the springs, cables, bottom brackets, or opener wiring should go to a professional.
An opener install often looks cheaper DIY on paper, but the mounting, wiring, and force calibration routinely push a first-timer into a second-day project or a callback visit. For an accurate figure, call (844) 935-1938 – estimates are free and the written price is the final price.
Torsion spring replacement typically runs $180-$340 for a single spring. Most doors have two springs and they’re usually replaced as a matched pair, so the pair costs roughly double that. The written estimate sets the final price – call (844) 935-1938 for an exact quote.
No – the price is quoted and agreed before any work starts. The written estimate you receive is the price you pay, not a starting point for negotiation. If the job involves more than the estimate covers, that’s discussed with you before anything changes.
The local professionals we connect you with are licensed and insured as their state requires. Our technicians have up to 15 years of experience and are trained on the major door and opener brands, including Chamberlain, Genie, Clopay, and Amarr. Call (844) 935-1938 to book an estimate.
The Bottom Line
The DIY-versus-professional decision for a garage door comes down to one clear line: what’s under tension, and what’s under current. Seals, rollers, hinges, and lubrication are yours to handle, and doing them yourself is genuinely worthwhile. Torsion springs, extension springs, cables, bottom brackets, and opener electrical work are professional territory – not because you lack skill, but because the risk of a bad outcome to your hands is far too high to be worth the savings. If you get the split right, you’ll save the money where it matters and protect yourself where it counts. When you’re ready to hand off the dangerous half, we’re here.
Call (844) 935-1938 for a free estimate. Our team works on your brand, handles the spring-to-opener-to-door scope in one place, and quotes every job in writing before work begins.
Written by the team at Garage Door Repair Eagle Creek.